Building a container garden is not that difficult from the standpoint of planting technique. Here are some basic guidelines that should be followed to attain success. These are the “nuts and bolts” of container gardening.
We have covered three factors that must always be considered when creating a container garden – the container (size and drainage), the growing media, and plant compatibility (space, moisture and light needs).. Is the container the right size for the plants you are putting in it? Is there appropriate drainage? The container should fit the needs of the plants. What growing media will you set the plants in? Soil-less is the most fitting for the majority of containers. If you have multiple plants in the same container, are they compatible? As they grow will they still fit? Do they have similar moisture and light needs? Take time to do a little research and be sure to READ THE LABELS.
Assemble your Container Garden
Now let’s get down to the nitty gritty on how you actually assemble the pot. This is a fun part! You get to dirty up your hands!
Step 1: Start by filling the container.
Grab your growing media (and filler, if needed). Bagged media is easiest to work with as it is already pre-moistened. Fill the container to about 4 inches below the rim.
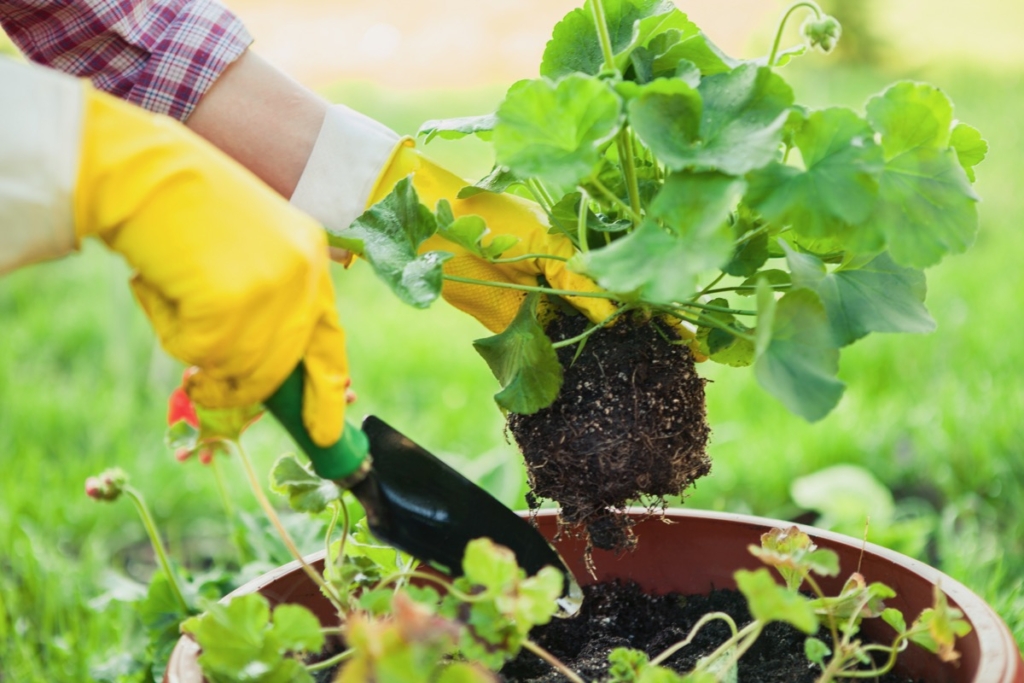
Step 2: Time to add the plants.
Before removing the plants from the original containers, it is a good idea to thoroughly moisten the root ball by watering until excess runs out of the bottom. If the plant is very dry, consider giving it a good soaking by submerging the pot in a bucket of water. Remove the plants from their pots and place them in the container. Scoop aside the growing media or add more, if needed. The plants should be sitting at about the same level as they were in their original container. Fill in around the root balls, leaving 1 inch of space at the top – this is called head space – to provide for easy watering and to assure the water does not just run off the edge.
Step 3: Water, water, water.
Start by watering the new container garden thoroughly to settle the growing media around the roots and remove any large air pockets. Add more media to the top, if needed, to re-level the surface. Review the moisture requirements of the plants in the container. Consider placing a label on the container with moisture and light requirements for easy reference. Your location will meet the light needs of the plants. Watering will be key to meet the moisture needs of the plants.
Step 4: Time to share your masterpiece!
Start exposing the new container garden to its new environment. If the plants have been grown in a greenhouse and are going to be placed outside, give them some acclimation time. This is a process called hardening off. You can harden-off your plants before planting or after. The greater the difference between their old environment and their new environment, the longer the hardening process may need to be. When the container is in its final resting place, reconfirm your plants are getting the right amount of light, water, and fertilizer to be successful.
Finally! Your container finished and ready to dazzle you and your visitors!
By Liza Cameron, Hennepin County Master Gardener volunteer